QNAP’s setup is close enough to Synology’s that most of the concepts carry over, and different enough in the places that matter that following a DSM guide will leave you stuck. This covers a QNAP running QTS 5.2 from unboxing to a working volume, plus the one setting that has genuinely gotten people’s data held for ransom.
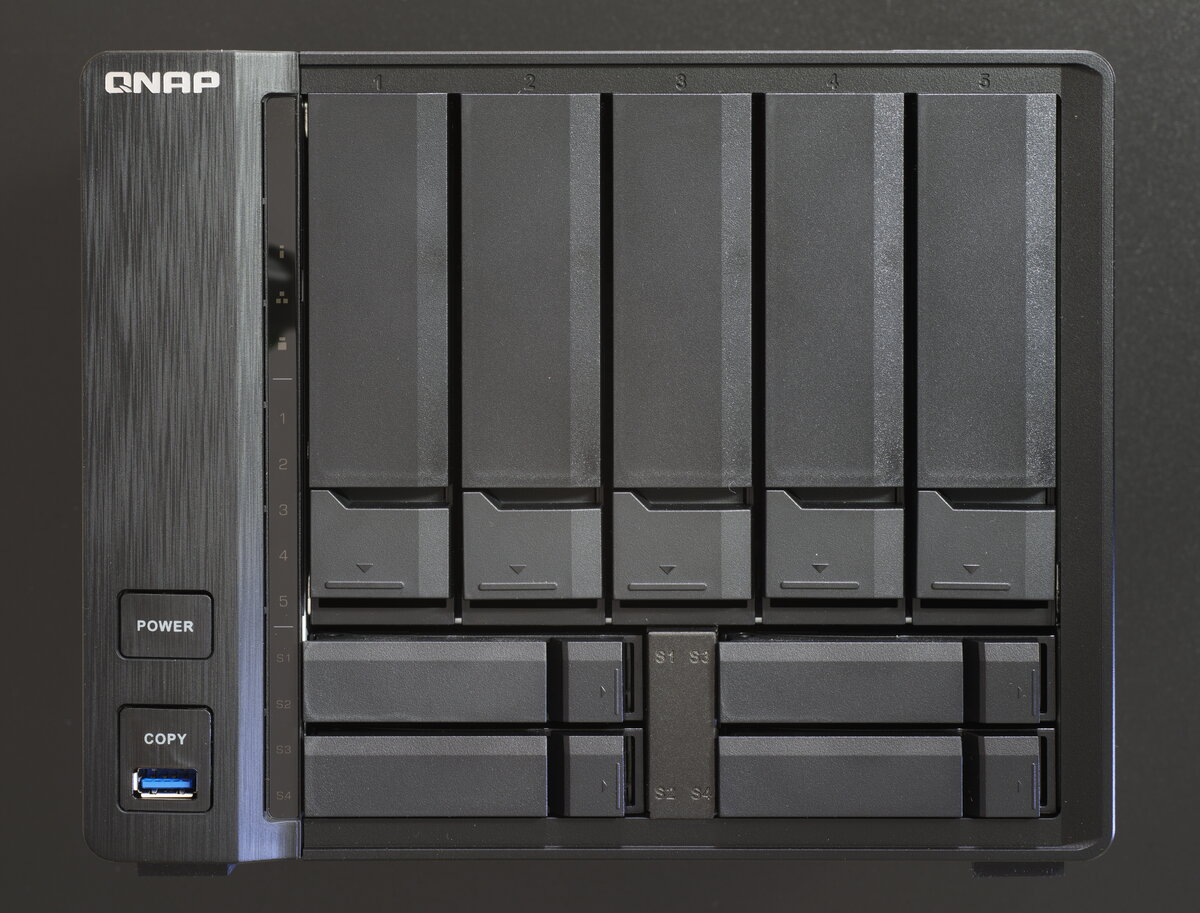
Finding it
QNAP doesn’t have an equivalent of Synology’s find.synology.com. You download Qfinder Pro onto a machine on the same network, open it, and your NAS shows up in a list. Double-click it and it opens the web interface.
If it doesn’t show up, it’s almost always one of three things: the NAS isn’t finished booting (give it a few minutes, it beeps when it’s ready), you’re on a different VLAN or subnet than the NAS, or client isolation is on for your wireless network. Plugging a laptop into the same switch rules out the last two fast.
The setup wizard
It walks you through the usual: warranty terms, firmware version, then the part that matters.
NAS name is capped at 14 characters and can’t end in a hyphen. Pick something you’ll recognize on a network list later.
Admin account. You create a new administrator username here, and QTS automatically disables the built-in admin account once you do. That’s a real improvement over how this used to work, and it’s worth understanding why they changed it: admin is the first username every brute-force script tries. Don’t name your new account something equally guessable. Not administrator, not the company name.
Network. Set a static IP, or reserve one on your router by MAC address. Either works. What you don’t want is a NAS that changes address every few weeks and breaks every mapped drive and backup job pointed at it.
Then it initializes, which takes a while and wipes the disks.
Storage pools and volumes
This is where QNAP trips people up, because it’s two steps where you’d expect one.
A storage pool is your physical disks grouped together with a RAID level. A volume is a slice of that pool that actually holds data. You need both. Creating a pool and stopping there leaves you with a NAS that appears to have storage and won’t let you put anything on it.
Go to Storage & Snapshots > Storage > Storage/Snapshots, click New Storage Pool, and pick your disks. Use at least two so you can run RAID 1 or better. A single-disk pool works fine right up until that disk dies.
The wizard offers pool guaranteed snapshot space. Turn it on. It reserves room so snapshots can still be written when the volume fills up, and a full volume is exactly when you’ll want a snapshot to roll back to.
Then create a volume in that pool. QNAP recommends a thick volume and they’re right for most people. Thin volumes let you over-allocate space you don’t physically have, which is useful in specific situations and a foot-gun in all the others.
Do not put this on the internet
Here’s the part people skip.
Between January and September 2022, a ransomware family called DeadBolt hit QNAP users in at least four separate campaigns, encrypting data and demanding roughly a thousand dollars in Bitcoin per device. It targeted NAS units reachable directly from the internet.
The detail worth sitting with: this mostly wasn’t people using QNAP’s own remote access service. It was people who forwarded ports on their router so they could reach the NAS from outside, with no VPN and no access restrictions in front of it. QNAP’s own guidance after the attacks was to stop exposing the NAS directly and use either a VPN or myQNAPcloud Link instead.
So: don’t forward port 8080, or 443, or 22 to your NAS. If you need to get to it from outside your house, put a VPN on your router or firewall and connect to the network, not the box. Turn on auto-update for QTS and for the installed apps, because the gap between a patch shipping and you applying it is the window these campaigns run in.
None of that is QNAP-specific advice, really. It just happens to be QNAP users who paid for the lesson.
Next
Once you have a volume, the rest is shared folders, users, and apps. Container Station is QNAP’s Docker equivalent and it’s the same tradeoff as Synology’s Container Manager: more work than an app-store install, and worth it for anything you want to keep running the same way in five years.
Sources: QNAP’s own setup walkthrough, the QTS 5.2 storage pool docs, QNAP’s security notice on internet exposure, BleepingComputer on the DeadBolt campaigns.