Everyone’s first print goes wrong in roughly the same handful of ways. Here’s what we wish someone had told us before we burned through a spool figuring it out.
Bed leveling isn’t optional
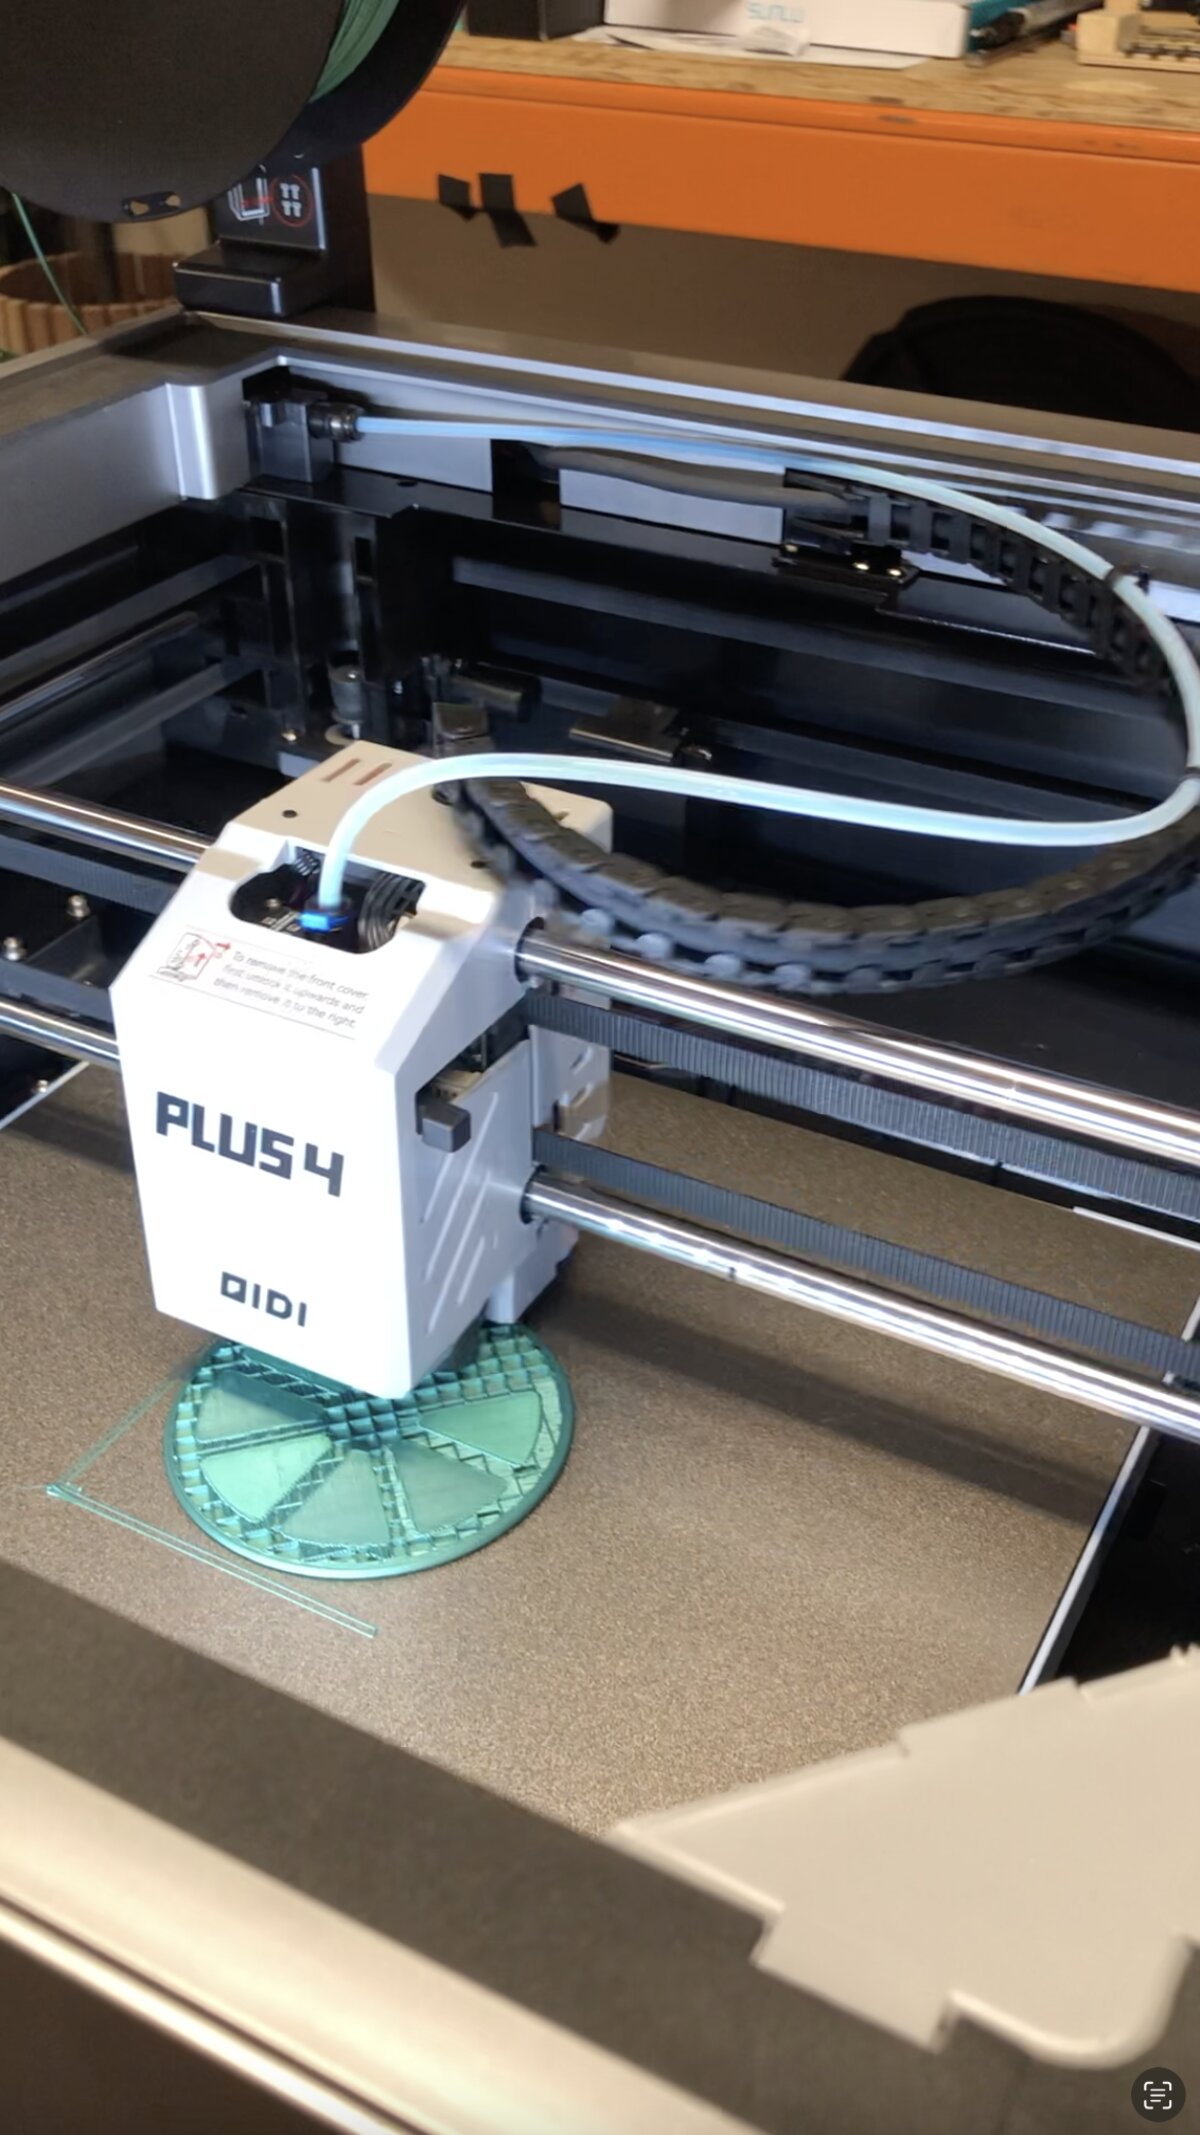
Something like seventy percent of failed prints trace back to a bad first layer, and a bad first layer almost always traces back to an unlevel bed. One corner sitting slightly high or low gets you lifting corners, patchy adhesion, and prints that peel off halfway through.
Level the bed before every print that matters, not just the first time you set the printer up.
Slow down the first layer
Printing the first layer too fast is one of the most common beginner mistakes and one of the easiest to fix. Drop your first layer speed in the slicer even if the rest of the print runs at normal speed. That one layer decides whether everything above it holds.
Clean the bed like you mean it
Fingerprints on the build surface are invisible until your print won’t stick to exactly that spot. Wipe it down with isopropyl before anything you care about, and try not to touch the print surface with bare hands in between.
Respect the 45 degree rule
Overhangs print fine up to about 45 degrees from vertical. Past that you’re asking the printer to extrude plastic into thin air, and it sags, strings, or fails outright. Design around it, orient the part differently, or add supports. Fighting physics with slicer settings only gets you so far.
Start with PLA, and mean it
PLA gets called the training wheels of the filament world for good reason. Lower temperatures, better warping resistance than the engineering filaments, and it forgives more while you’re still learning what “retraction” and “cooling” actually do to a print. Move up to PETG or ABS once PLA stops surprising you.
What we’d tell ourselves on day one
Don’t buy the cheapest filament you can find and expect quality results. Don’t skip maintenance because the printer seems fine. Don’t pick an ambitious model with thin overhangs and moving parts as your first print.
Print a calibration cube, then a few boring blocky test objects, and build up from there. The exciting prints get a lot more exciting once the boring ones actually work.
Talk shop with us
More print lab write-ups live under the 3D printing project. Got a print that went sideways in a way we didn’t cover? Post it on The Bench. Failures welcome.