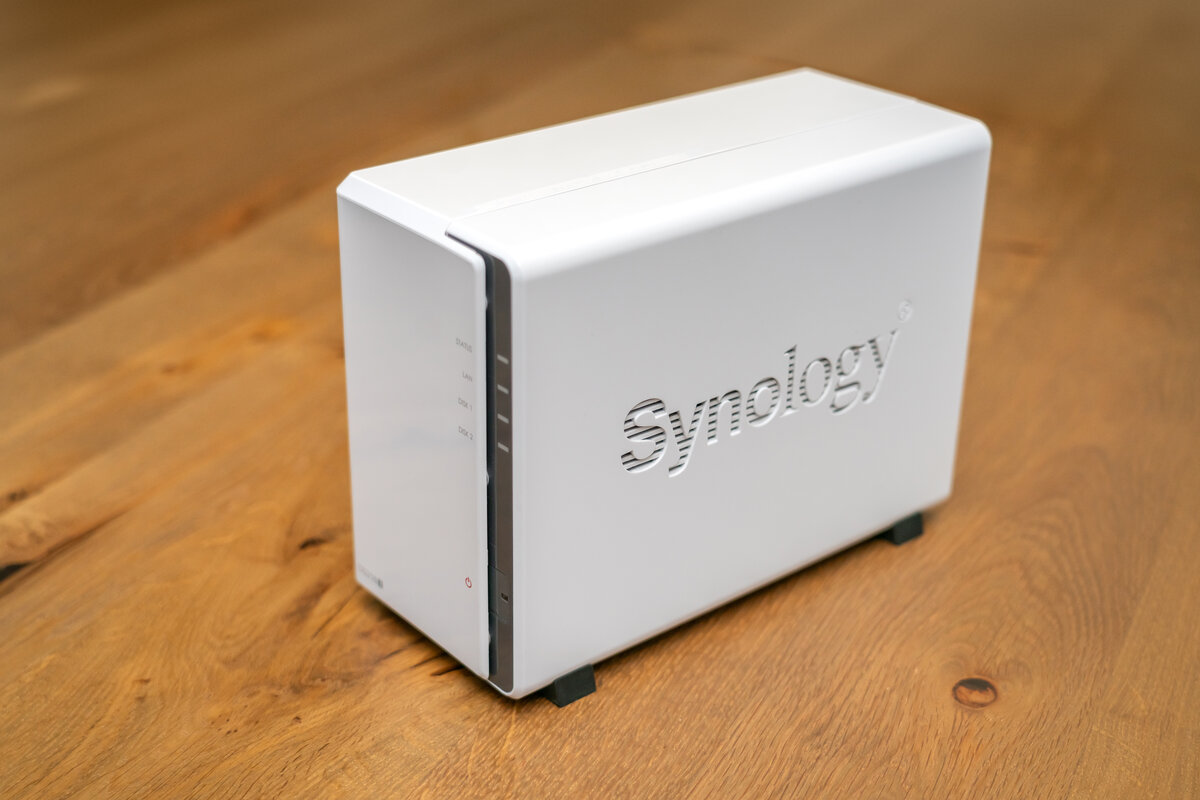
First guide in a series on getting a Synology NAS from box to daily driver. This one covers initial DSM setup, meaning everything that happens before you’ve installed a single package.
Step 1. Find the NAS and start the wizard
Drives installed, NAS on the same network as your computer. Go to find.synology.com, or use Synology Assistant if you’d rather not rely on a cloud lookup. It finds the NAS on your local network and drops you into the DSM installation wizard, which downloads and installs DSM itself.
This part is genuinely hands-off. Let it finish before touching anything.
Step 2. Create the admin account properly
DSM asks you to create the first user account, which gets administrator rights. Two things here are easy to skip in the rush to get to the good stuff.
admin. It’s the most-guessed username in every automated login attempt pointed at Synology boxes. Picking something else is a free layer of defense, not security theater.Generate the password in a password manager instead of typing something you’ll reuse somewhere else. This account can touch everything on the NAS.
Step 3. Storage Pool first, then Volume
Open Storage Manager. You create a Storage Pool first, which is the raw disk grouping, then a Volume on top of it, which is what actually gets mounted and used. Both steps are required. A pool on its own gives you a NAS that looks like it has storage and won’t let you write to it.
For most home and small-office setups with mixed or mismatched drive sizes, Synology Hybrid RAID (SHR) is the right default. It gets you redundancy without wasting as much capacity as forcing a traditional RAID level onto uneven drives.
Step 4. Turn on 2FA before anything else
In Control Panel → Security → Account, enable 2-factor authentication for the admin account before you open a port or turn on QuickConnect. It takes two minutes with any TOTP authenticator app and it’s the highest-value five minutes in this entire setup. A NAS admin account is worth protecting like any other admin account, because that’s what it is.
Step 5. Decide how you’ll actually reach this thing remotely
DSM’s default path is QuickConnect, Synology’s own relay service. It’s easy, it works through NAT with zero configuration, and it puts a third party between you and your NAS.
The locked-down alternative is a VPN back into your home network, either Synology’s VPN Server package or something at the router level, with no NAS ports exposed to the internet at all.
QuickConnect is a perfectly reasonable choice for plenty of setups. Just make the choice on purpose instead of keeping whatever the wizard defaulted to.
That’s a NAS that’s ready to actually put things on. Next: Docker/Container Manager vs. the Package Center →